Friday, October 26, 2012

Hexagons and Something "Old"

Hello and Happy Friday!  

We're having a good time weathering Hurricane Sandy. Actually, there's not much going on. Some gusty winds and rain. I hope the folks up north don't get hit too badly. This is going to sound a little insane, but I enjoy when storms come our way. Anything up to a Cat 2 hurricane, I'm fairly ok with. Anything more than that and we're gettin' outta Dodge! I like to "hunker down", get cozy, cancel everything (a clear calendar is cause enough for joy, no?) and just stay home. And on days like today, I even get to spend a little extra time getting my fingers inky!

Here are a couple of cards I made recently. The first is using the My Favorite Things Hexagon die - I really love this die and I'm looking forward to using it some more. Patterned paper is the a-DOR-able Dewey Decimal papers from Lawn fawn. Craft is Neenah Desert Storm card stock.


Next up is this little number. It makes me want to have high tea. And it reminds me so much of my very sweet grandmother. 

I recently picked up the Martha Stewart Mini Scoring board and wanted to to do something with it other than score the fold on my card. :)  The little pearls are not gems, but tiny dots of Liquid Pearls. I love how the Liquid Pearls retains it's dimension after it dries. And no fiddling with 50 or 60 tiny gems. The lace is old, given to me by my mother years ago. And the sentiment is modified from the exclusive Simon Says Stamp Apothecary Stamp and die set.

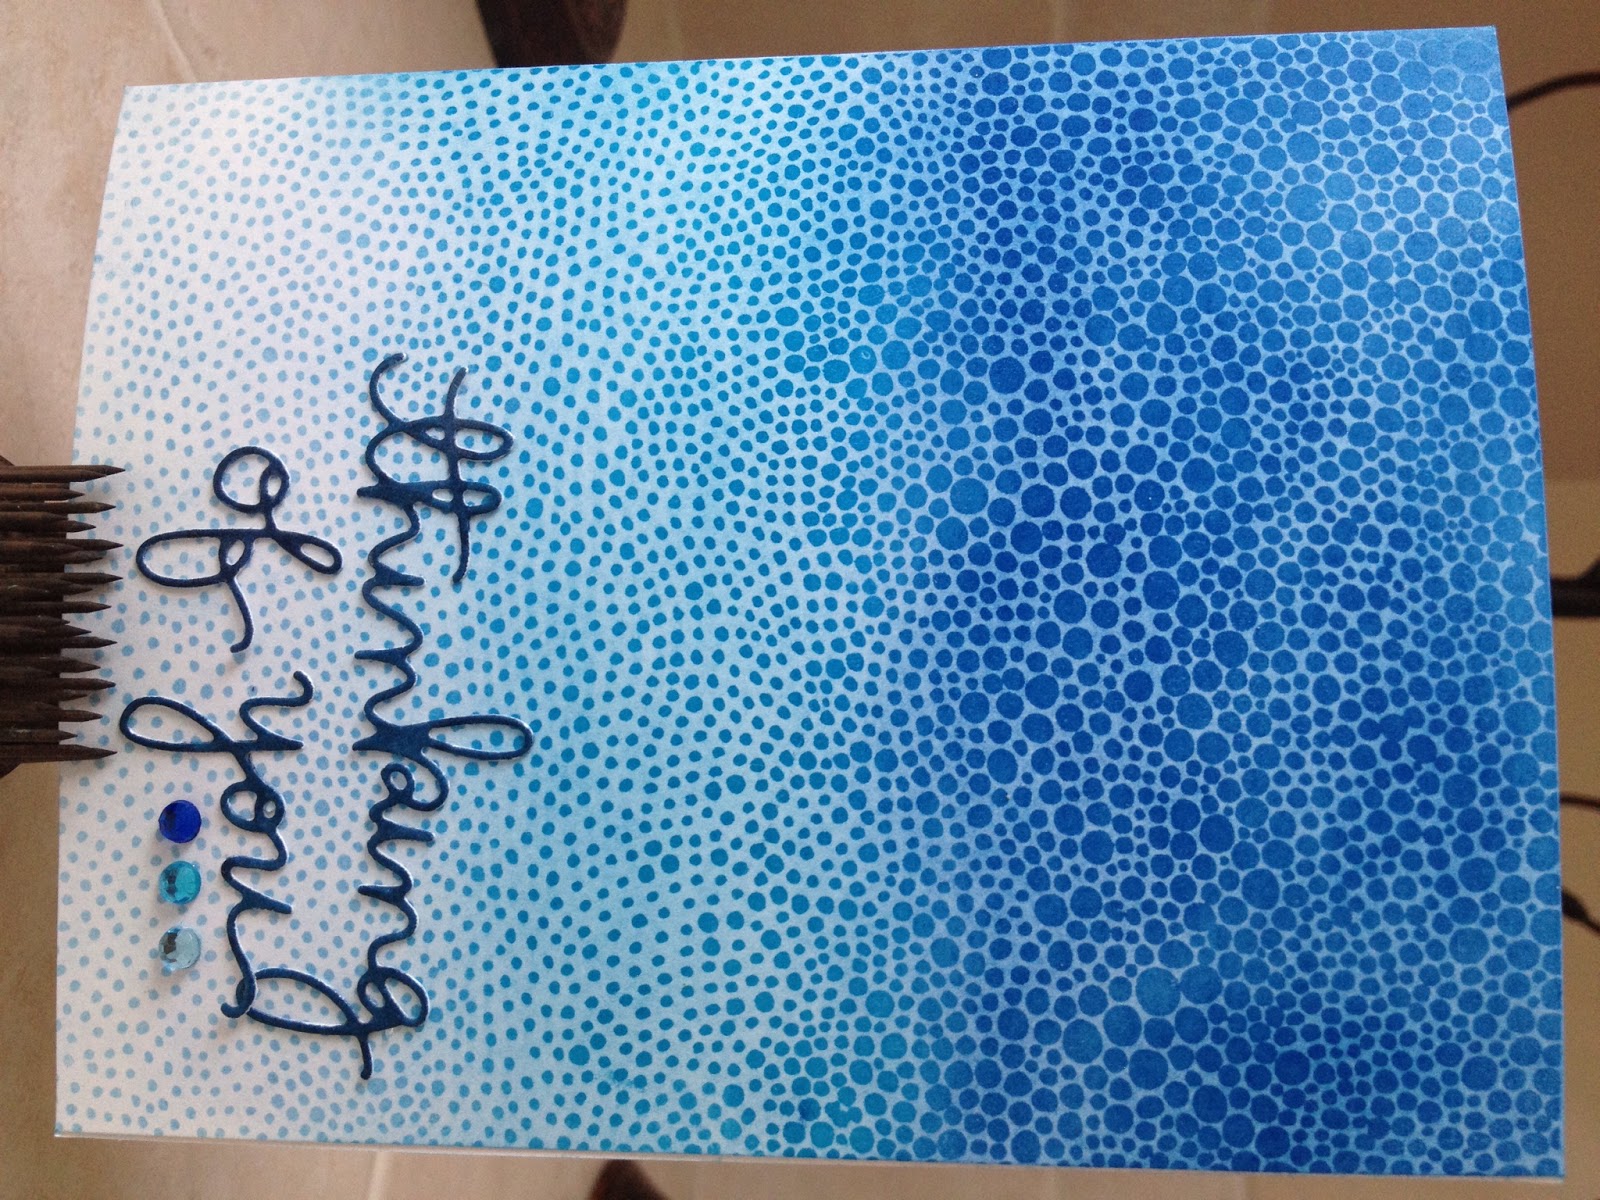
You will be seeing a lot more projects from me using their exclusive stamps and dies. I'm completely smitten with the stuff they're coming out with!


Well, that's it for now! Have a great weekend, and if you're in the path of ol' Sandy STAY SAFE!!

Hugs,
Angel

Wednesday, October 24, 2012

A Share and Some Exciting News!

I've had such a busy few weeks, but I'm very excited to be back and ready to do show and tell. :)

We took a couple of trips recently. First to our church convention - we look forward to this all year, so it was special to be there again. And shortly after getting back home from that trip we packed up again and headed to Disney for a week with my sister and her family. Well, most of her family. My sweet niece has recently moved away (sob!), so she wasn't with us this time. We just love Disney, and this trip was a great one, even if it was exhausting! We had a very special surprise when we got to Magic Kingdom. The New Fantasyland expansion had been opened (very quietly - ssshhhhh...) for a "Dress Rehearsal"! So we got to go inside Beast's castle, ride the new Little Mermaid ride, see the new Tales with Belle attraction. All very exciting!


The new Be Our Guest restaurant! Do you recognize this ballroom?


And, of course, one of my favorite scenes. The castle at sunset.


Ok, I guess I should get down to business here and stop daydreaming that I'm back at Epcot, having dinner at Coral Reef.

While I was away, I received some VERY exciting news! I have been chosen to be on the design team for Everything Scrapbook and Stamps! I'm honored to have been chosen, and I'm so looking forward to being inspired by the other design team members projects!

My first few projects are, naturally, Christmas themed to get us feeling all jingly (uh, not jiggly. I feel that year round), and festive! It takes a little more work to get in the Christmas spirit down here in south Florida. But this Magenta stamp set sure got me going in the right direction. 

So here we go:

 I had a little fun mixing clear embossing powder with some Glitter Ritz glitter and embossing with it over the Distress Pine Needles and Distress Barn Door ink. Then used some Tumbled Glass and a foam applicator to make the background blue.  


I'm loving Scor-Tape and Glitter Ritz! 


Once burnished with my bone folder, it gives a sort of candied look to the paper - perfect for Christmas cards. Some Glossy Accents on the ornaments adds the perfect amount of shine.


For the center of this card, I cut a square of white cardstock, and placed it in my hot Melting Pot. Then I mixed some white UTEE with a little green PearlEx. I sprinkled the mixture on the paper until it was evenly covered, and once melted, stamped the bird stamp into the melted embossing powder. To add a little extra color, I inked up the stamp with Hero Arts Forever Green before pressing it into the UTEE. Creates a neat effect!


So there you go! A few new cards for you and I'm off. I'll be back tomorrow to share a few other things. See you then!

Angel

Tuesday, September 11, 2012

hello

Good morning! It's Tuesday, and that means lots of running around for the folks in the Estes household.  

In all our running, it's also a day of remembering the events of 11 years ago that changed us all forever. I hope we never forget the sacrifices of so many, and the many that have lost their lives in the wars since 9/11. Hug your loved ones today.

Before the craziness starts I wanted to share this little cutie with you all. I just can't get enough of the little porcupine! He's from this exclusive set from Simon Says Stamp. I'm itching to do something with that mushroom, too. So sweet!


I hope your day is filled with the things that bring you hope. <3

Angel

Friday, September 7, 2012

New Toys and an Old-School Reboot

I got a few new goodies today from Simon Says Stamp, including a few of their new exclusive stamp/die sets, and this fun stamp. So many thoughts running through my mind for this one! 


I've been really liking all the "ombre" stuff I've been seeing over on Pinterest. I love the soothing way the colors blend into each other. And what does ombre mean anyway? Anyone know?


Pretty!

Naturally, the Gradation stamp really got me excited to play with my own ombre, eh hombre? 


So here's my card:


I broke out an old technique I haven't used in years: VersaMark and chalks!  

The vast majority of my comments on my last post - in fact, every comment was *begging* for step-by-step instructions, so I thought I'd add some on this post! (thanks, Karen ;) )

I started by inking up my stamp really well with VeraMark ink. VersaMark is a clear ink that's very "sticky", and dries very slowly. It's great for heat embossing, but for this project, I just wanted the ink to stay wet while I work with the chalks.


I then put the folded card onto the stamp, rather than putting the stamp onto the paper. With a stamp this large, it's sometimes easier to do this. You just have to be sure to press the entire card onto the stamp - rubbing your fingers to the edges all around.


It's a little difficult to see, but the VarsaMark ink leaves a pale watermark on the paper.  


I start applying the chalk. Beginning with the lightest shade of blue and using a cotton ball I gently rubbed the color onto the card. After I got the color I was happy with, I blended the medium blue and finished with the darkest shade of blue.


I then set the card base aside and started to work on the sentiment. I was super excited to play with this die. These wafer-thin dies are so great. Quick and easy to use and they do a great job. I used a little washi paper tape to hold the die on place.


I ran the die and a small piece of Neenah Solar White card stock through my Cuttlebug, and...


Voila!


The pieces just push right out! I used a needle to push the center of the loopy letters out. 

I wanted the sentiment to pop off the page a little, so I colored it with a Distress Ink marker in Faded Jeans.


Since these pieces are pretty thin, I wanted to be careful when adhering them that the adhesive didn't show. I used tiny dots of Glossy Accents and it did a great job.


A few coordinated gems, and there you have it!


I hope you enjoyed walking through this with me - Thanks for stopping by!


Thursday, September 6, 2012

STAMPtember Challenge!!

I'm so happy to be inspired by Simon Say's Stamp! to not only create something today, but also to get on here and post on my blog again! It's been sorely neglected. Life happens, eh?

I can't think of a better way to start this Thursday morning than by hopping along with Simon Says Stamp! blog's second STAMPtember blog hop! There is soooo much inspiration and great ideas on this hop - some seriously talented ladies. I loved that there was a focus on washi tape. I've been wanting to play with washi tape more - I just needed a little push.

So, I just had to accept the challenge. And here's my little creation:


I started with a piece of watercolor paper - I used the smooth side for this - and stamped the Penny Black background with VersaMark ink and embossed using white Zing powder.

I then used Distress Ink Markers in Broken China and Peeled Paint to scribble in diagonal sections. I overlapped the colors a bit so that they would blend - I then used a mini mister to spray liberally with pearlized water and set aside to dry. Then I got impatient and used my heat gun to finish the job. :)  A baby wipe, used lightly, will clean up the ink off the white embossed areas.

Finally, I cut the piece a little smaller than my card base, and pop-dotted it onto my card.

I covered a small piece of Neenah Solar White in green washi tape and die cut my butterfly out of it, adding a little blue dot washi to the edges of her wings. A few pearls, and she's done.

My sentiment is stamped on Neenah Solar White also, and the cut with Spellbinders Labels 8.

So there you have it! Thanks so much for stopping by - Come back soon!

Angel


Friday, March 16, 2012

Inspiration Falls

Any Disney World fans out there who can tell where in the parks you'll find Inspiration Falls? First correct answer gets a special gift: namely, that special warm feeling you get when you answer first.

Something else I'll share with you - I'm a pretty big fan of Disney World.

I took this picture the other day while driving through a neighborhood that has things like peacocks walking around.

Isn't he just gorgeous? I decided to challenge myself to use his coloring as a base for a card. I'll be sure to show you what I come up with!

Have a great weekend!

Thursday, March 15, 2012

Well, Hi there!

Hello, and welcome to my brand spankin' new blog! I'm kind of excited to do this; I've wanted to start a creative journal for so long, but I'm not so good with the pen and paper. Plus, a blog allows me to add photos and share it all with folks who enjoy such things.

I'll start by introducing you to my space! I'm always so curious about where people do their creating. Hmm...Not sure curious is the right wood. Maybe Im nosey? :)

Over the 12+ years I've been papercrafting I've had a number of different craft areas and setups. A few years ago I needed to pare down my space to fit into a corner of our loft. This was not going to be easy for a number of reasons. However a primary concern was that we wanted the space to not be cluttered. I may or may not have had a problem with that in the past. Also, since it's in a main living area, it would be nice to be able to close things up when they're not in use.

We settled on the WorkBox by The Original Scrapbox. This thing is a beast!


You can watch a video about the the Workbox here.

I used the Workbox as it was designed to be used for a few years, but then about 6 months ago I got a wild hair and decided to rearrange things a little to make the many, many drawers and cubbies more user-friendly for me.


It's well loved and in quite a state right now, but that's the nature of things, isn't it?  Anyone who papercrafts would probably agree that this is a painfully small workspace. While there are times I would really appreciate a permanent place for my Cuttlebug or Silhouette, for the most part this works for me. I just have to be constantly picking up after myself. I may go into more detail in another post. 

Hope you all get to do something satisfying and crafty today! See you next time!

A